Painting plastic models correctly - this is how it's done!

-
By
Oliver K.
Are you interested in racing cars, off-road vehicles, trucks, tanks, ships or airplanes? Then the hobby of model making is just right for you. After assembly, the most important thing here is to paint as precisely and true to detail as possible.
The following article on the topic of model building and painting shows you how you can properly paint the small plastic models using various methods and which models are best suited for the start.
Correctly paint plastic models - these options are available
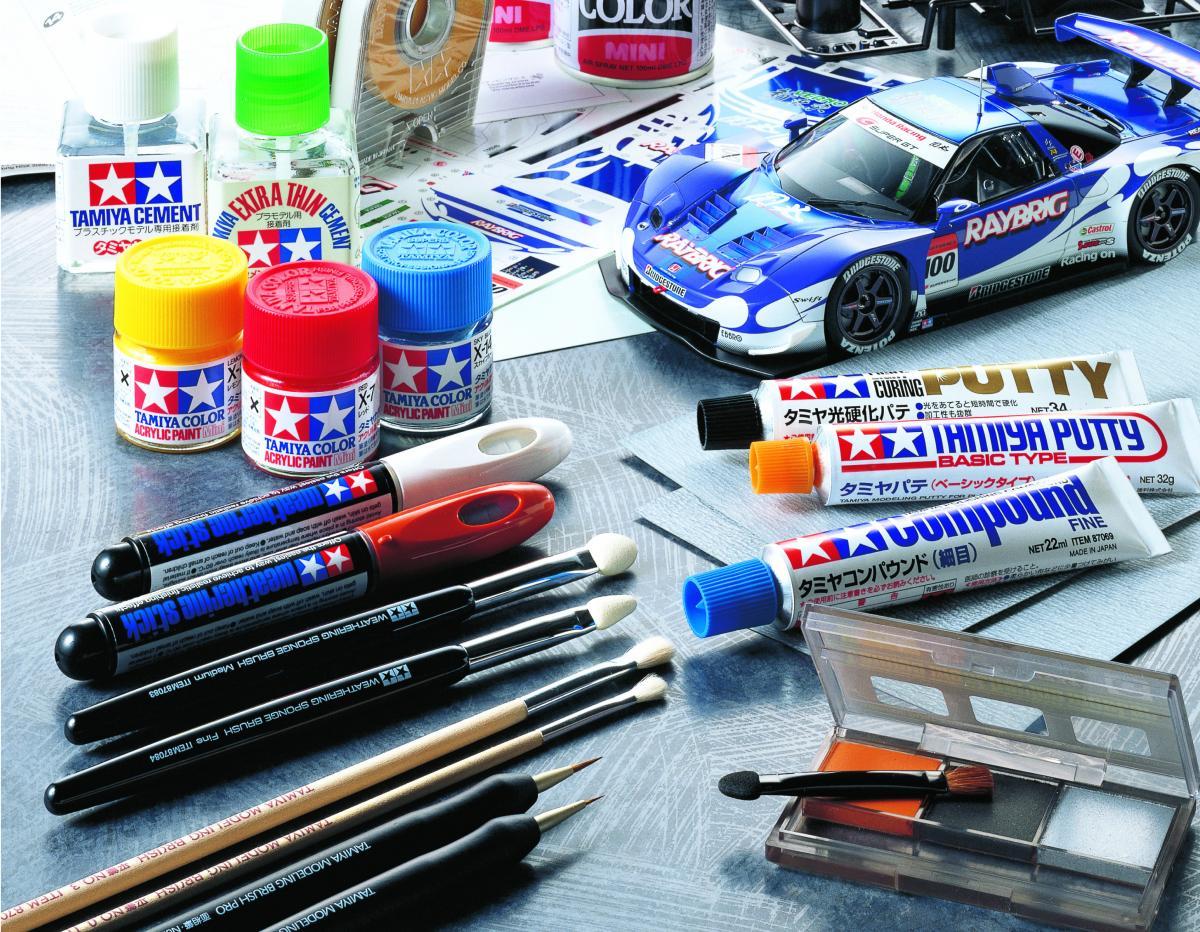
A professional paint job is what makes your model really realistic. Three methods are available for a clean and precise paint application. Whether airbrush gun, brush or spray can - with all three methods you can paint your plastic models properly.
They each have different advantages and disadvantages.
| Paint plastic models correctly - method | Advantages | Disadvantages |
| Brush |
|
|
| Airbrush |
|
|
| spray can |
|
Preparation - what is needed
Good preparation and some rest and time for implementation are important for all three methods if you want to paint your plastic models properly. In addition to a stable surface and a base (e.g. old newspapers), you will need various accessories. Also make sure you have enough bright light. Ideal are daylight or a bright lamp that illuminates all parts of your model well.
You need the following materials to paint your plastic models properly.
- Plastic model of your choice
- (possibly. Primer)
- Model paint (matching the paint type)
- Painting tool (brush, spray can or airbrush gun)
- Rinsing agent
- Microfiber cloth
- Drying cloth
- Gloves
- Clamps
- Tape in different sizes
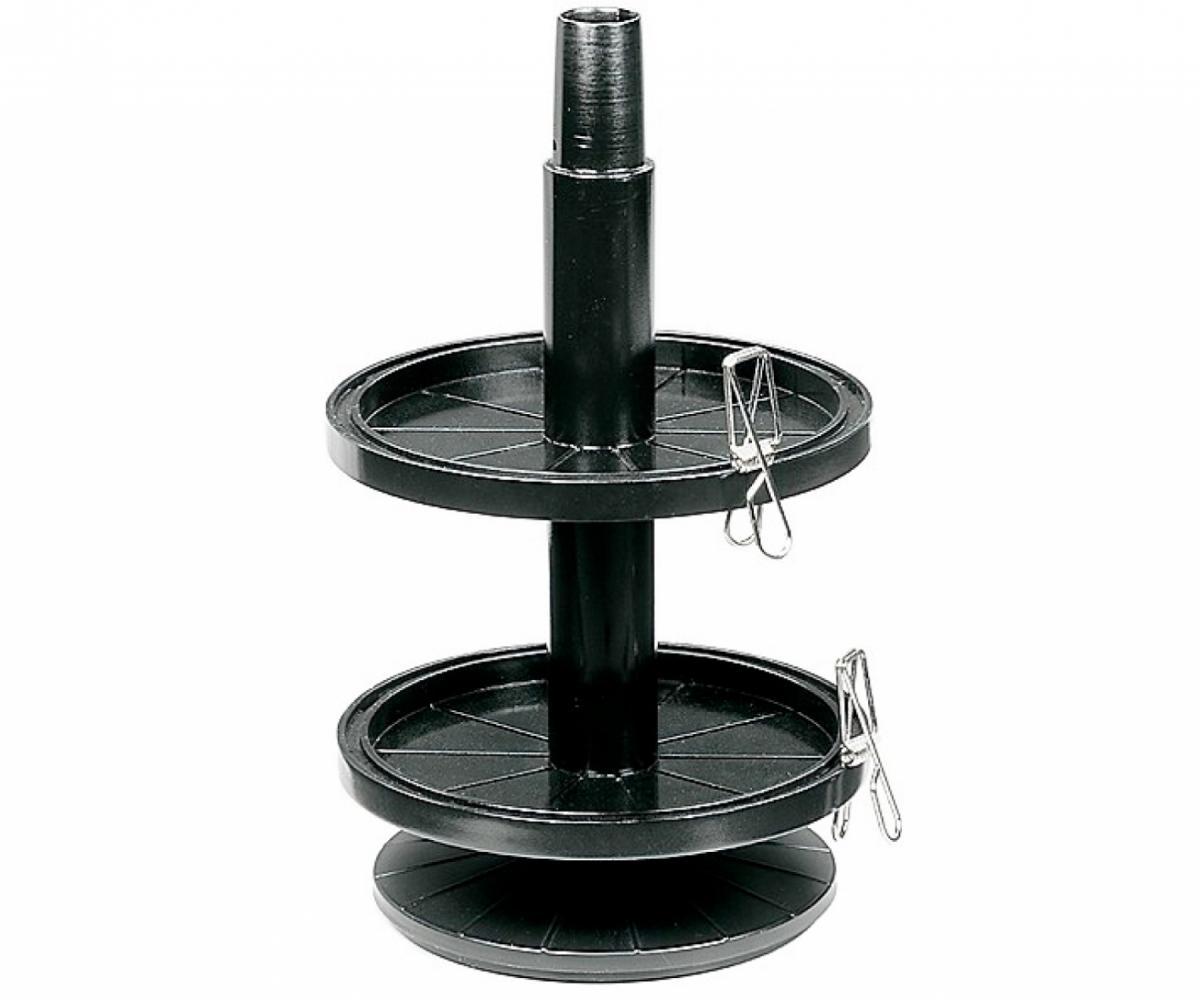
Tip: Use a paint rack with storage to safely store all paints as well as painted small parts to dry. Several acrylic paint jars fit on the rotating shelves. Crocodile clips allow small painted parts to be held in the stand.
Before you can paint your plastic models properly, independent of the painting method the following points are important.
- You can paint plastic models properly outdoors, for example on the terrace or in the garden with sufficient space. Also a workshop or a hobby room with good ventilation are suitable for painting.
- Prepare all materials including your workspace. Put a pad on the floor to avoid paint splashes.
- Think about which parts you want to start with and also determine an order for the other parts and the necessary colors.
- Before you start, remove dirt and dust from the model with a soft cloth.
- For the paint to hold better, a primer is recommended for some types of plastic. Tape all glued areas of the model before priming and painting, so that they can be joined together afterwards without any problems.
Model making - paint and prime in advance
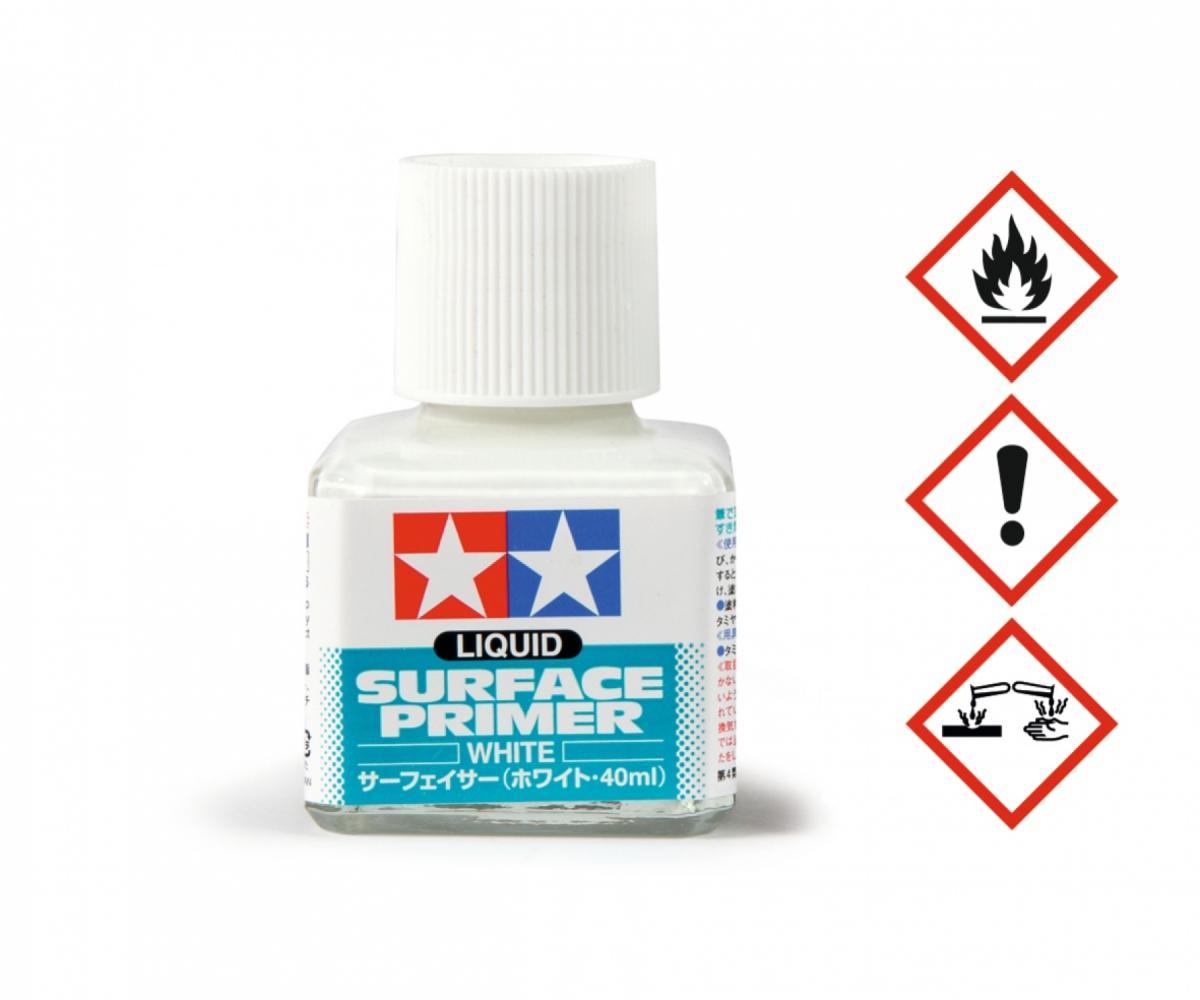
With the products of TAMIYA you can paint plastic models properly. Use high-quality primers in various colors, liquid or spray, which are ideal for plastics. Use a white primer for the application of light colors and the gray variant for the application of dark colors.
The spray primer can be distributed very quickly, evenly and finely . Small irregularities even out after drying with a fine-grained sandpaper.
Here are all the pros and cons of primer at a glance:
| Advantages | Disadvantages |
|
|
Painting with brush - step by step instructions
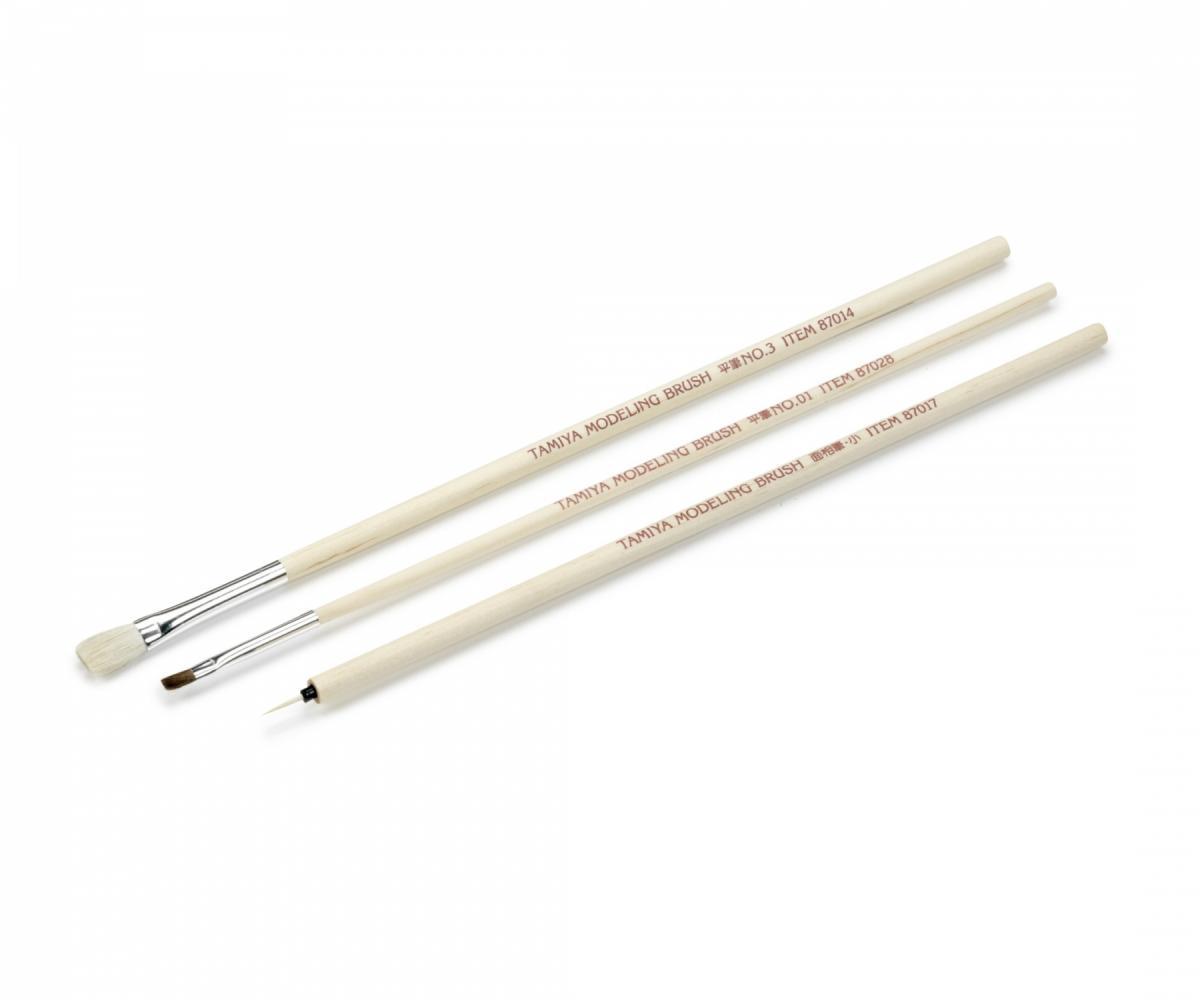
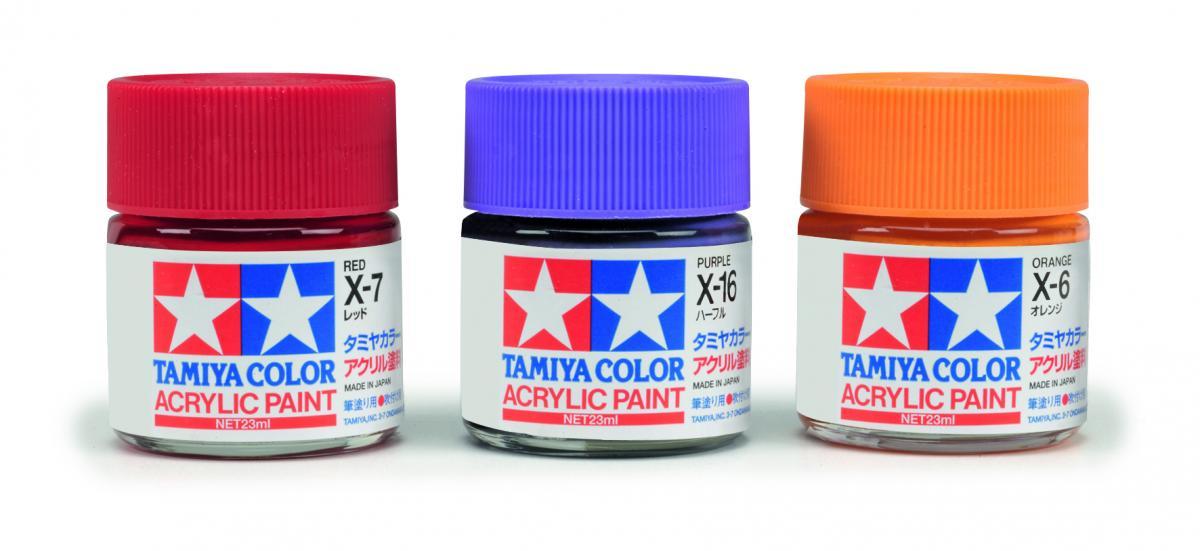
Working with the brush is ideal for beginners, who want to paint plastic models properly for the first time. With acrylic paint as well as brushes and other accessories from TAMIYA, you can start painting right away.
To paint your plastic models properly, proceed as follows:
- Step 1: Tape off all the areas that you do not want to paint. Our masking tapes in different sizes are ideal for this.
- Step 2: Now stir the first color well for 1 minute, so that this gets an optimal consistency. Now draw 2 to 3 test strokes to test the shade. For example, on a plastic cup or on a later no longer visible inside of the model.
- Step 3: Use a brush with a thickness of 0.2 to 0.4 mm for the application of color. You always start with the light colors. Next come the dark tones and finally metallic colors. Paint slowly and evenly over the model part with the brush. After each color change, the thorough washing out of the brush is important.
- Step 4: Let each color dry for about 30 to 60 minutes. Depending on the desired result, up to four passes are necessary.
- Step 5: If everything is ready painted, let the model dry for about 12 hours. Keep it in a dust-free, wind-protected and not too cold place.
- Step 6: Finally, you apply the decals (eg logos and lettering) according to the instructions on the model.
Paint plastic models correctly - Tip: Use the right brush strength for very fine details and larger areas. Make sure that the transitions are as seamless as possible, which visually flow inconspicuously into each other.
Painting with spray can - step by step instructions
This method is also suitable for beginners, but also for advanced modelers. You can paint plastic models properly with spray cans in numerous colors.
You proceed with this method in the following steps.
- Step 1: To properly paint your plastic models, first tape off any areas where you don't want to apply paint.
- Step 2:Test the paint application on an inconspicuous area or on a plastic cup. The spray can should not be too cold, room temperature is ideal.
- Step 3: Now apply the first layer of paint. Again, work with the light colors first. Keep when spraying a minimum distance of 30 cm and always paint in one direction.
- Step 4: Repeat the paint application three more times. Go thereby evenly and not too slowly. So you prevent the formation of color noses.
- Step 5: After each paint application you wait about 30 to 60 minutes, so that everything dries well.
- Step 6: Now remove the taped areas and let your plastic model dry for about 12 hours at room temperature.
Tip: Specially for airplane models, our spray paints in matte light gray are suitable, as these achieve fine shading when sprayed on and make your aircraft look even more plastic.
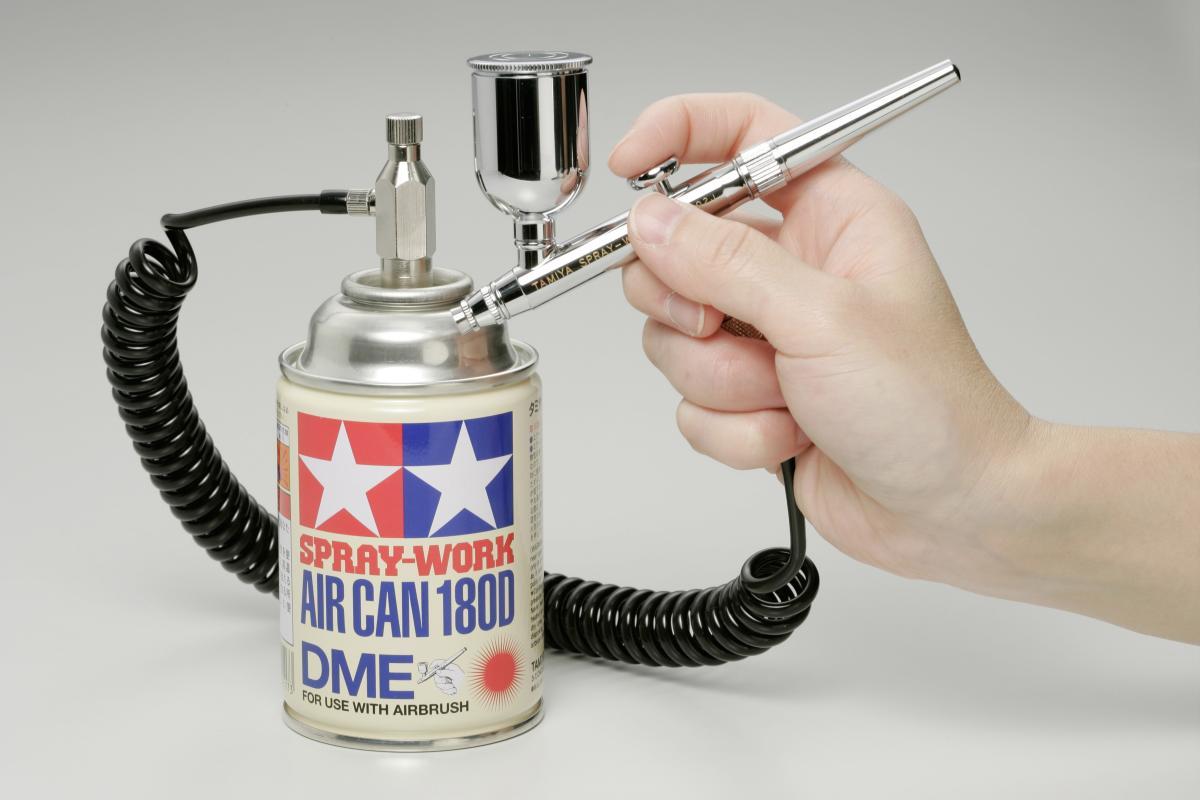
Airbrush painting - step by step guide
Only something for advanced and professionals is the painting per airbrush process. The color you spray with the help of the compressor pressure on and with a little practice and skill you create great effects and color gradients.
So you go step by step:
- Step 1: Tape all neutral areas to protect them from the paint application.
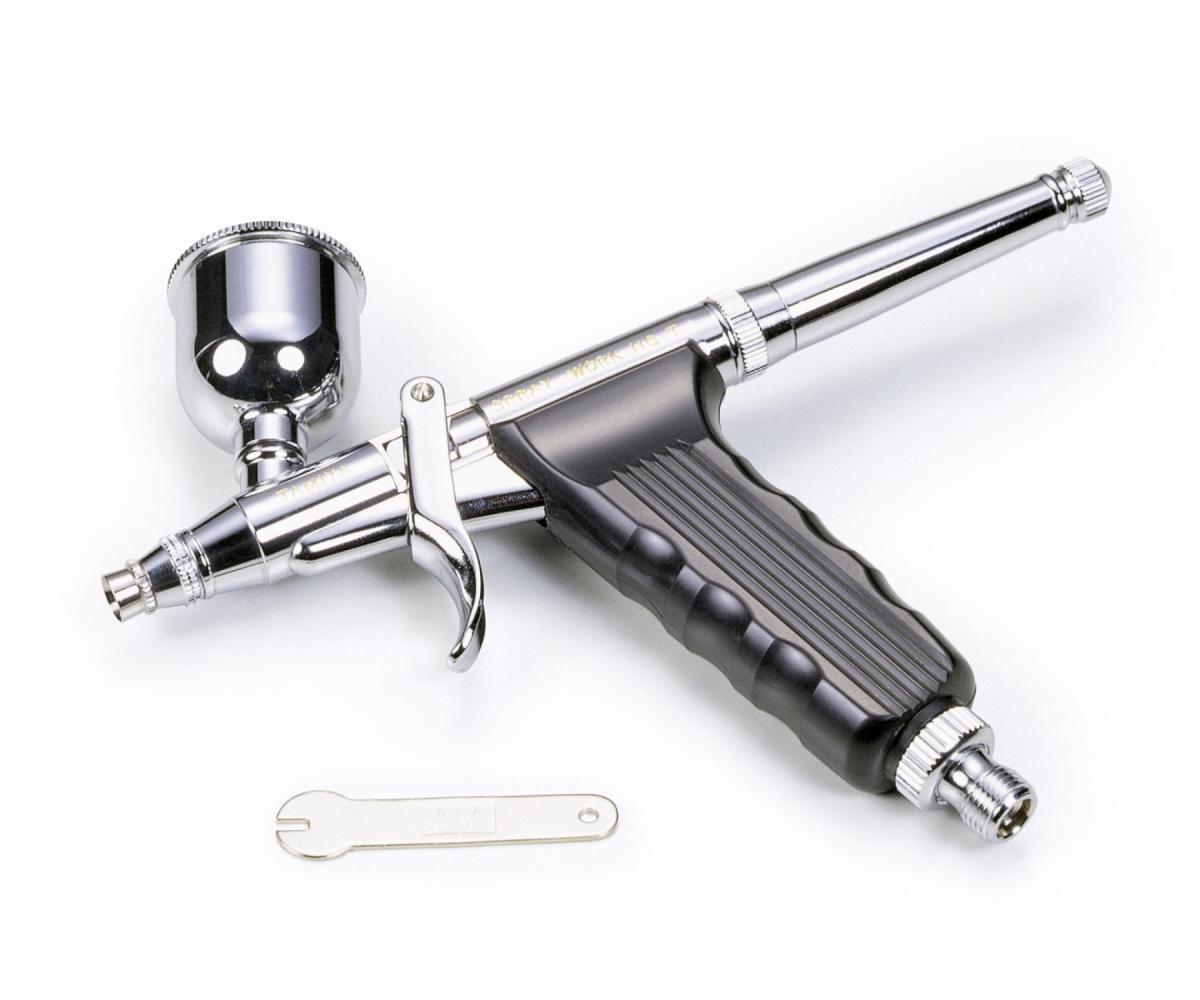
- Step 2: Next, connect the airbrush gun to the compressor. A pressure of 1.1 to 1.5 bar is ideal. For the best result, an integrated pressure reducer with water separator.
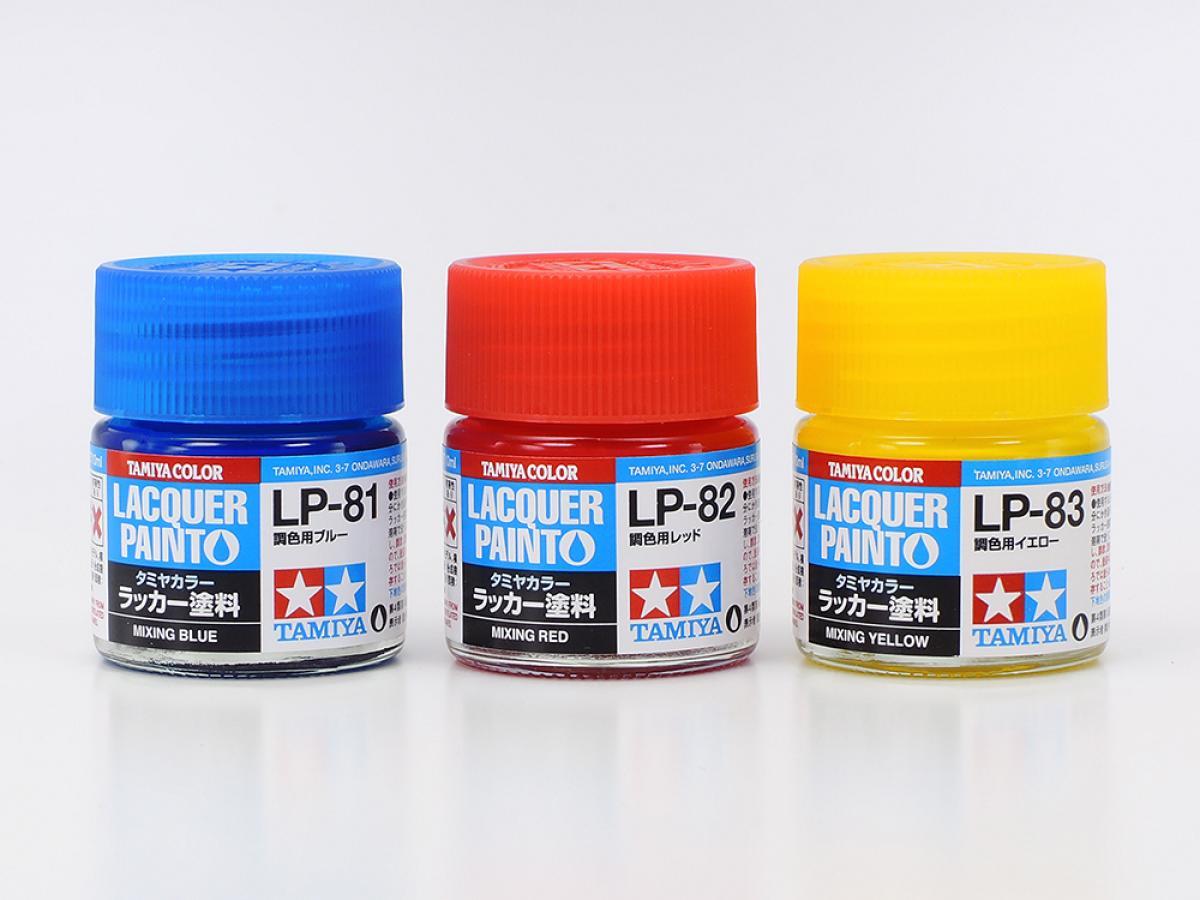
- Step 3: Now stir the paint, for example the lacquer paints from TAMIYA. At least 1 minute is recommended so that the paint application is nice and even. Test the paint on an interior location or on another plastic object.
- Steps 4: Now spray the plastic model with paint at right angles. Apply this as thinly as possible. Start with the corners and edges. Then follow the larger surfaces of the model. Proceed evenly and not too slowly to avoid paint noses. Also, always paint from dark to light when using multiple colors. To lay down the colors and dry painted small parts, a painting stand is extremely handy.
- Step 5: Let the plastic model dry for about 30 to 60 minutes before applying the next coat of paint.
- Step 6: Remove all masked areas and let the model dry for at least 12 hours. A not too cool, preferably dust-free place is ideal for this.
- Step 7: Finally clean the airbrush gun thoroughly, so that it is prepared for the next use.
Tip: Cover the environment carefully when spraying. Use a respirator and ventilate everything well afterwards to protect your lungs from the fine paint mist and paint plastic models properly. Protective gloves and safety goggles are also recommended.
The finish - finishing the plastic model
Once your plastic model is dry, you can apply the sealant with clear lacquer using either a spray can or airbrush gun. Make sure that the clear coat matches the color type and that you do not apply it too thickly, so that small details are preserved.
You have the choice between a matte, satin or glossy clear coat, special matting agents are suitable for X-/XF colors. Apply the clearcoat over the entire surface, similar to priming. After drying, your plastic model is perfectly protected from dust and dirt - the paint will also last longer.
Conclusion: Painting plastic models made easy
You have three ways to paint plastic models properly - the brush or spray can methods are best for beginners. The cheapest accessories are available with the brush method, painting with spray cans is also very suitable for beginners.
Significantly more experience and some practice you need for the airbrush method, with which advanced and professionals paint their plastic models properly and spray even more effective gradients.